Homelab: November 2023 Changes
Preparing my lab for a pivot, and making it more useful into the future.
Prior State
I don’t want to spend too much time here going over what exactly I had prior to making these changes, as I posted a short article on this the other day. That being said, it is still necessary for me to go over things how they stood a bit so that you have context for the changes I made.
Changes
Network
The network here previously was entirely flat. I have now changed it so there is at least a little segmentation.

You can see in the image above, I kept the default network as is, but then split out the hack lab, roommate network, our WIFI, and guest WIFI. The only issue I have so far is that for whatever reason, I cannot make DNS on my personal laptop work regardless of firewall rules, but I know what the IP addresses are for most things anyways so it isn’t the end of the world. Just minorly annoying.
The goal this is meant to achieve is keep IoT devices, Roommate, and friends off my LAN. This is for a few reasons.
- Increased privacy and security. If any devices get malware on it, this should help contain it. Or if you consider IoT devices spyware, this can help mitigate some impacts to data collection efforts if you block egress access on the firewall.
- This allows more flexibility for me to tinker with things in my subnet without a risk to impacting other subnets. This includes both the default LAN and the Hack Lab whenever I get to finishing it out.
Active Directory
I maintain an AD DS environment at home. Granted, it’s small and barely needs proper maintenance, but I technically have one and have for some time. I rebuilt it about 3 years ago, and by rebuilt I mean literally set up DNS and left it alone. I plan to use it more into the future.
Starting with DNS, I cleaned up some old records I was not using anymore, and updated the ones I have here. Generally speaking the naming conventions is to pick a god from one of the many D&D Pantheons, or a homebrew one, with a CNAME to a useful alias that better explains what I am trying to do.

Next I added a proper domain user for the first time in like, 4 years.

From there, I created a computer object. I never put my personal PC or laptop on the forest because I thought it was needless. I somewhat wish I had done that now, but I have decided that as a compromise that I would put Windows boxes from my lab in AD and maybe on the next system I build or buy and I can put that in AD as well. Anyways, Gond is the new Dev VM I will go over later.

VMWare Server
I run ESXi 6.7 on a Dell R710 currently. This VM server previously hosted 5 VMs.
- Windows 2016
- Feed The Beast (Modded Minecraft)
- Vanilla Minecraft
- Splunk
- <redacted> and <redacted>
In these changes, I removed both the Minecraft servers, and the ancient Splunk server. I also added an NVME drive to the server, and migrated all the VMs to it.
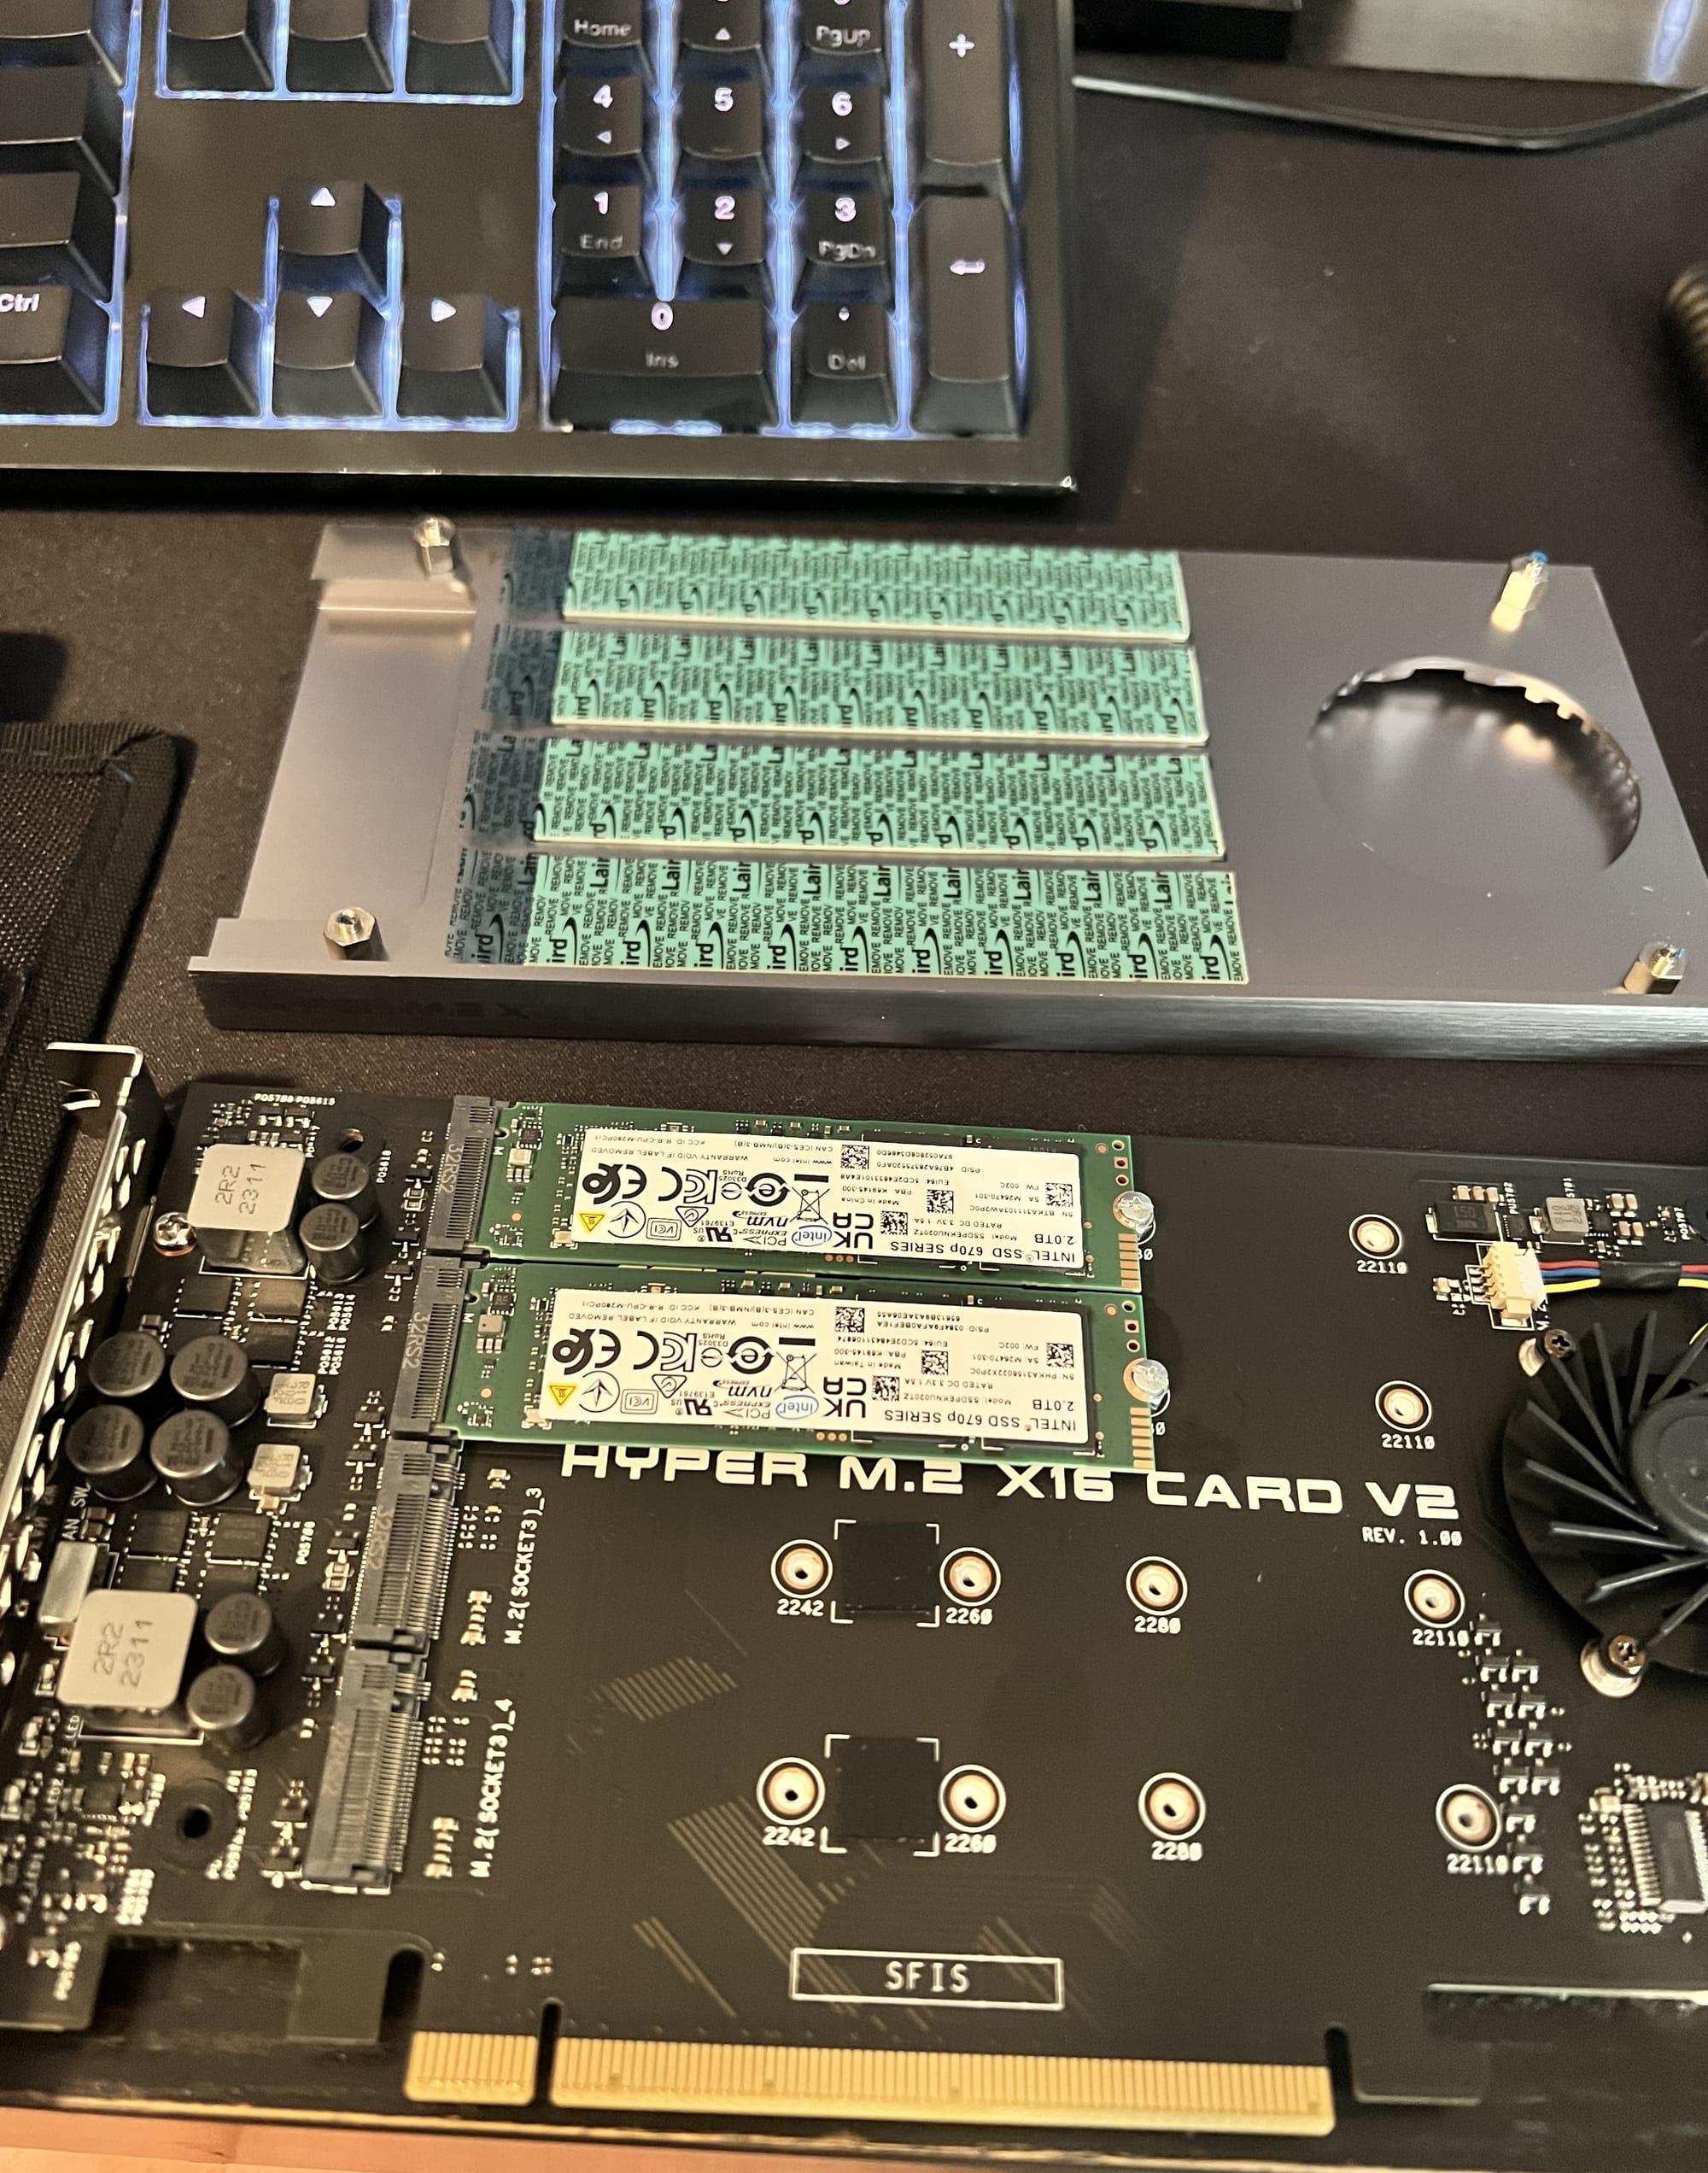
Starting with the NVME drive, fair warning there is some lab gore here as I did not do my due diligence to double check that the PCIe to NVME adapter fit like I thought. I also still need to check if the second NVME drive works or not. Alas, I am lazy and it still sits on my desk once I realized VMWare was not seeing it.
First off, here are the drives mounted in the adapter.

From there, I then had to cut a PCIe x8 slot to make the PCIe x16 card fit in it. Because for whatever reason, Dell did not provide expansion card room larger than x8 on their risers. If you will note, there are 2 card slots there I mangled. I accidentally cut the pin on the top slot and had to do the bottom one instead. I filed these with some snips I got with my 3D printer, hobby knife I use for minis, and the file on a finger nail clipper.

As janky as that is, it worked! (mostly, one NVME drive may or may not be dead, I still need to test it and I am lazy).

And here we have the server booting.

And if we take a look in ESXi, the NVME drive is in there all nice and happy.

I then migrated all the VMs to the NVME drive, and removed the Minecraft and Splunk VMs as they were unused for quite a while. I then replaced them with the Dev VM, and a Gitlab server as I pivot more into learning proper code development, and not just throwing together Python and bash.

I hope to upgrade this R710 to an R730 in the next year or 2, but we will see. Whenever I upgrade though I will be sure to throw more RAM and SSD space into this server so I can continue to evolve the lab.
Dev VM
The last major change I want to discuss here is the Dev VM I deployed. It’s a standard Windows 10 box with some customizations to it, and Visual Studio installed.
First thing’s first, I installed Windows 10 the normal way, then join it to a domain. You do that by going to Settings > About > Advanced System Settings > Computer Tab > Change button


Once you hit that button, there will be some prompts and maybe a reboot and it’ll then tell you that you are on the domain. Once that’s done, I enabled RDP to the system so I can more easily access it (It’s how I am getting these screenshots :D) To get to RDP settings its exactly the same as the Domain Join settings, except for the remote tab. Make sure the highlighted bits are active and you are good to go. I then selected the “Select Users” button and put my domain user account in there.

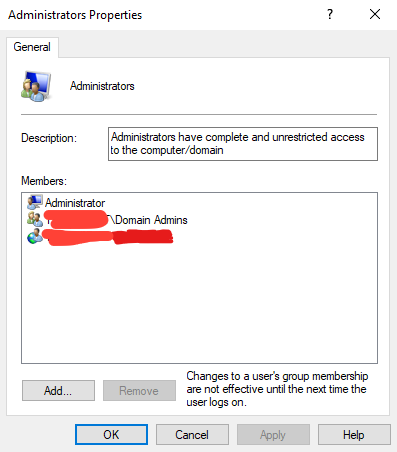
Next up, I added my domain user as a local admin since this is a dev system. You do this by opening lusrmgr.exe then go to groups > Administrators > Add… Once you finish this, you should see your user in there. You may have to log out and back in.

Once that is completed, I ran some of my normal workstation setup workflow. Starting off by getting an exe from ninite, then running shutup10, then downloading a few utilities such as Windows Terminal, PowerToys, PE Bear, x64dgb, and Visual Studio.
From here, I now have a dev VM that I can use from any system in my house. Which is either usually my desktop or laptop. This is the setup I am going to be using for a little while here as I start to work on my malware development skills.